Robert Jackson exhibition

Approaching Wholeness
I’m so pleased to announce that friend and fellow artist Robert Jackson will be having what sounds like an exciting opening of his exhibition called ‘Approaching Wholeness’. Here’s his invitation in his own words:
The show opens with an introduction by my wife Neslihan this Thursday October 4th, 2007 with the reception starting around 4:00 pm until 8 pm. The show runs until October 18th, at the Capilano College Studio Art Gallery in North Vancouver. Easy to find, just take exit 22 near the Second Narrows Bridge. (Download campus map, pdf)
There will be canvas prints of images taken of what happens when some very accomplished and serious artists just play for there own amusement in a sandbox with toys.
Another series of images of various artists wearing masks that they chose from many that I have made.
There will be some gorgeous toy images from a magical private toy museum, taken on our recent trip to Turkey. We had “a big fat Turkish wedding” in September there.
Really the show is about me learning to unmask myself and learn to play again and mostly about finding love, inside and out. I am always surprised that this finding the inner playful true self isn’t usually taught at art school. So many miracles have happened to me, 10 times more love from Neslihan and her family than I ever dreamed was possible.
Please come and share this unbearable lightness of being with us on Thursday at 4pm.

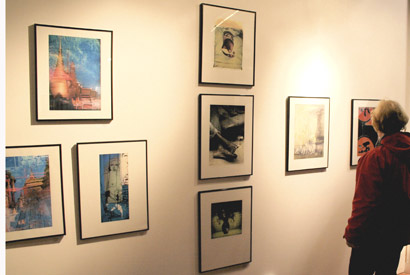
Untitled
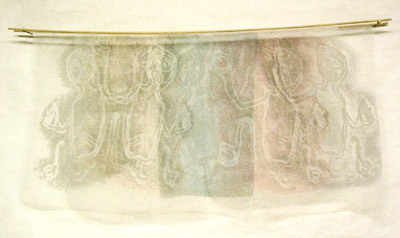
Lady of the Lamp

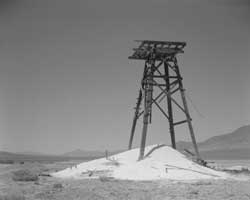
Tractor Boy
Robert’s Artist’s Statement (pdf) is well worth a read!
All works shown here are mixed media digital prints on canvas.
Sizes about 22 x 34 inches.
Copyright Robert Jackson, used with his permission.
Note: Gallery hours are 8:30am – 4:30pm, Monday to Friday.